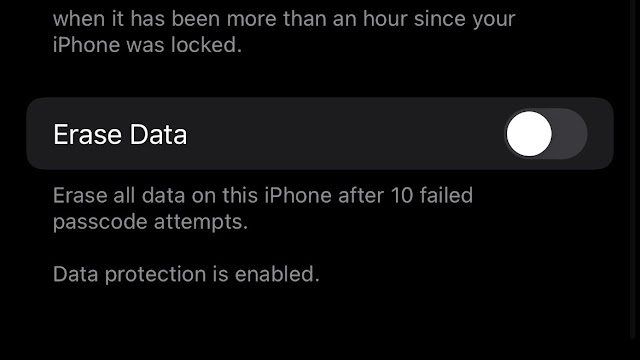
Your iPhone has a lot of personal information on it. Allow your iPhone to automatically erase itself after 10 unsuccessful passcode tries to keep outsiders out of your data.
To protect yourself against criminal actors attempting to access your iPhone's data, make sure you have a secure passcode in place. Here's how to set up or modify your iPhone's passcode.
How to set up a passcode on your iPhone
- On your iPhone, launch Settings.
- Tap Face ID & Passcode.
- Tap Turn Passcode On.
- Enter a passcode.
- When prompted, confirm the passcode.
Your iPhone is now safeguarded against outsiders, including Apple, thanks to the addition of a passcode. Even safe passcodes, however, may be cracked, and the shorter they are, the simpler it is. To avoid this, in addition to employing a complicated code, you may set your iPhone to destroy all data after 10 incorrect passcode attempts.
How to turn on Erase Data
- On your iPhone, launch Settings.
- Tap Face ID & Passcode.
- When prompted, enter your passcode
- Scroll all the way down, and turn on Erase Data.
Important: Once activated, ten unsuccessful passcode entry attempts will restore the iPhone to factory settings.
After a few false attempts, a countdown will show, barring back-to-back passcode enters. This avoids inadvertent data wipes caused by scenarios such as a toddler messing with your iPhone. Once activated, ten unsuccessful passcode entry attempts will restore the iPhone to factory settings.
After a few false attempts, a countdown will show, barring back-to-back passcode enters. This avoids inadvertent data wipes caused by scenarios such as a toddler messing with your iPhone.


